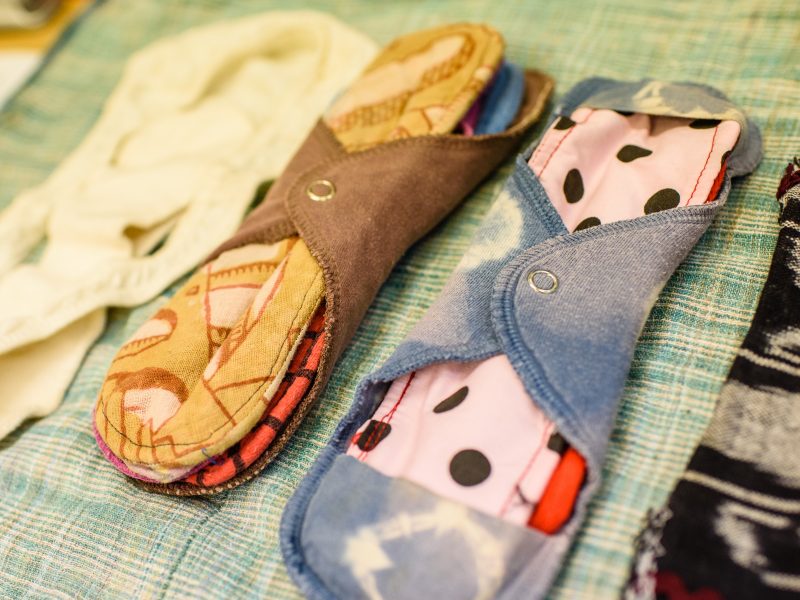
Menstruation is natural, but sometimes the way we deal with it in modern society is not. Plastic is more of an on-trend issue than ever before, so the argument surrounding the way we cope with menstruation has picked up pace. The average conventional sanitary pad contains 3.4g of plastic, so people are becoming increasingly interested in reusable methods such as washable pads and menstrual cups. These offer a safer and more natural way to manage your menstrual flow.

In November 2017 I attended a workshop run by Manda Helal so that I could photograph her teaching some of the staff at the Women’s Environmental Network (WEN) in London how to make their own reusable menstrual pads. I found the whole experience quite emotive: the experience of women coming together and sewing the pads, being open about what things we do not normally discuss. The following step-by-step instructions are based on what Manda does, so you can make your own pads if you wish, or use the guide to educate other people.
Some useful tips
Use 100% organic cotton fabric. You can either buy new, or you might like to upcycle old tee shirts or other clothes, cotton sheets or pillowcases. Bear in mind when deciding how much fabric you’ll need that you will be using several layers.
You can hand stitch the pads if you like, but if you use a sewing machine or overlocker the stronger stitches will make them more durable.

How to make a menstrual pad
What you will need
fabric – see above
sewing thread
2 poppers for the wings (if you make a wrap)
tape or Velcro (optional)
needle
pins
scissors
pencil and paper or card for the template
sewing machine (optional)
overlocker (optional)
To make the insert
- Make a template by tracing the insert pattern from Wen, or by drawing around the inside of one of your own pads. Cut out the template.
- With the right side out, fold the fabric so that it is at least 1cm larger all round than the template and you have 4 or 6 layers for a light menstrual flow (or a lighter day), adding more layers for a medium or heavy flow.
- Pin the template to the fabric.
- Leaving a seam allowance, cut around the template through all the layers of the fabric.
- Fold the seam allowance under from both sides of the pad so that the edges are concealed, and pin and/or baste carefully to secure all the layers.
- Overlock or sew around the pad.
For inserts with wings, use the wrap pattern without adding the poppers.
The insert can be used by itself placed or sewn into a pair of knickers, with or without Velcro, or held in place in a wrap.

To make the wrap
- Fold the fabric in half with the right side inwards.
- Trace the pattern, cut out the template and pin it to the fabric.
- Leaving a seam allowance, cut around the template.
- Overlock or sew around the edge, leaving one end open. Turn right-side out.
- Sew up the open end and add poppers to the wings where shown.
- Hand sew a pocket on either end of the wrap or attach tapes, to hold the liner in place.
____
Rosemary Després is a photographer, artist and writer originally from Guernsey. Heavily influenced by her island upbringing, she is captivated by the regular patterns of the wild such as the planets orbiting, the seasons, and the cyclical nature of women.
Manda Helal is a ceramic artist and educator with more than 20 years’ experience teaching pottery to students of all ages and diverse backgrounds. She lives and works in the East End of London.
Further instructions and cutting template can be found here.
____
First published in Issue 56 of JUNO. Accurate at the time this issue went to print.